How to Add or Remove Images on Your Gallery - New Feature Release
May 21 - 5 year before
How to add or remove images on your Gallery
Smooth and simple gallery section for your WebsFB website which means more ways to showcasing your work and sharing images with your customers.
The best part? Both free and PRO users can customize their logo.
The Gallery section is an awesome part of your website. This section can be used to present your shop front, works, products/services, or even share some before and after photos with the customers. Customize this space however you want - make it completely yours!
To add or remove images, please watch our easy video explanation below, or read on for further instructions.
Here's how to get started:
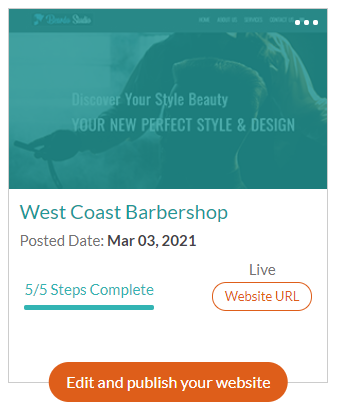
First, login to your Dashboard and click on the Edit and publish your website tab. This is the section you'll use to modify your website.
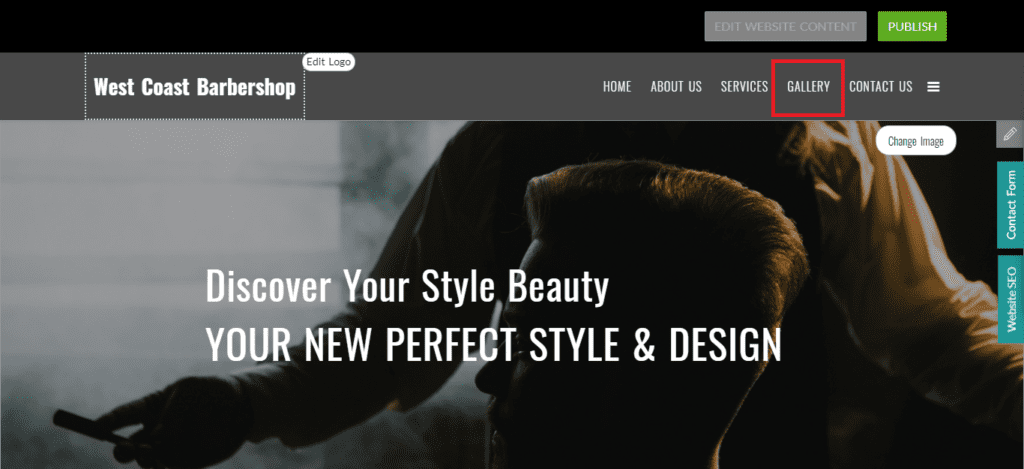
Then, head to menu sections, here the gallery section is already added, you need to just click on Gallery:
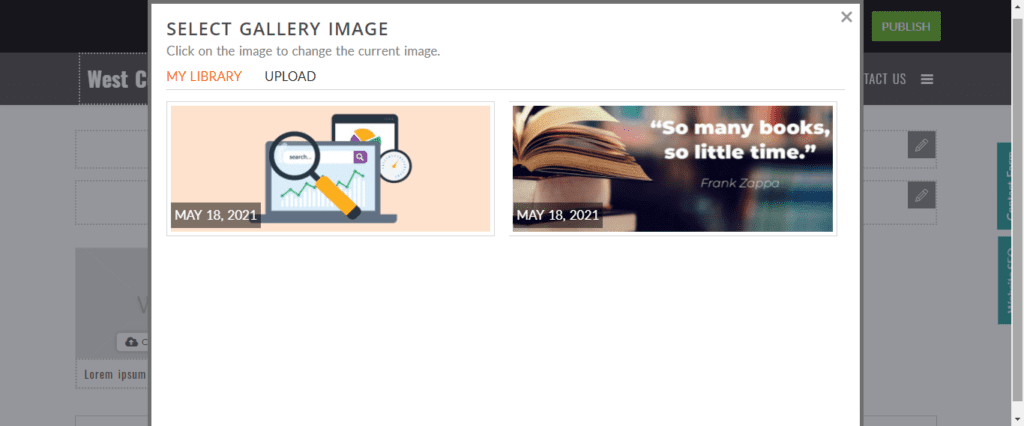
Now, select the upload image option to upload a new image. Please note that you may upload images directly from your own device, or can use them from your gallery.
Also, click on Add up to 4 images only button to add more images. If you would like to add more images please contact our support team at contact@websfb.com
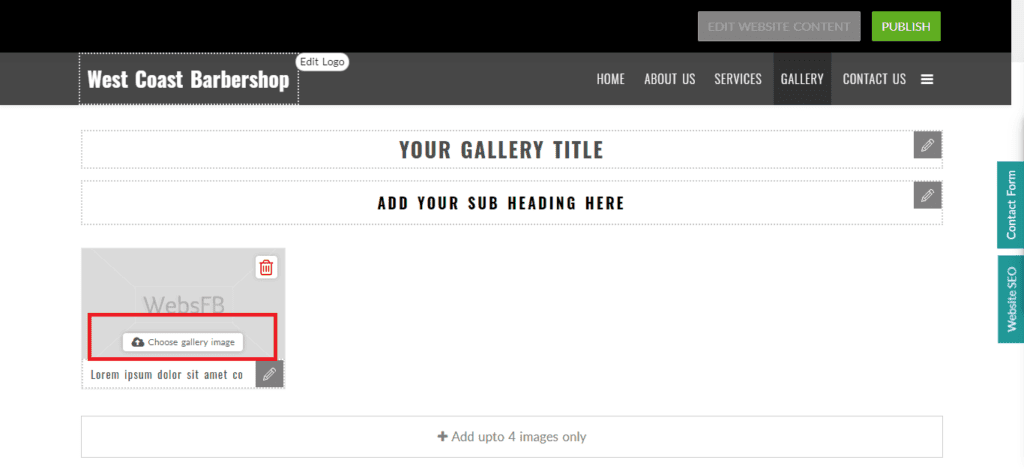
To remove an image, just click on the image and select the delete icon option to remove selected images.

That's it, your images should now be updated!
If you have any other questions, please don't hesitate to contact our support team at contact@websfb.com. We're always happy to help.
Related Posts


-
Subscribe to Stay Updated with Latest News
Easy 7 steps for build your website.

Select Template
Choose Color
Add Logo
Add Navigation
Setup Account
Add Content
Go LIVE!
Categories
- Blogging Platform (1)
- Business (26)
- Development (24)
- Email Marketing (8)
- Graphic Design Trends (4)
- Hosting Platforms (1)
- How To's (18)
- Ideas and Inspiration (3)
- Inspiration Technology (5)
- Management (2)
- Marketing (38)
- New Features (10)
- News (25)
- Online Advertising (3)
- Promote Your Website (27)
- Search Engine Optimization (8)
- Security (4)
- Small Business Tips (43)
- Social Media (6)
- Uncategorized (2)
- User Experience (3)
- Web Design (42)